
Docs / Publish to your CMS
Connecting Your CMS
Every connection is added the same way; only the credentials differ per platform.
- Go to Settings → CMS connections and click Add.
- Give the connection a name (e.g. "Main blog"), pick your provider, and fill in the fields below for your platform.
- Leave Use as the default publishing target on if this is where posts should go unless a strategy says otherwise.
- Click Save connection. We immediately run a live test against your platform and show the result. If the test fails, the connection still saves - fix the credential and save again, or keep it and re-test later from the connections list with the Test button.
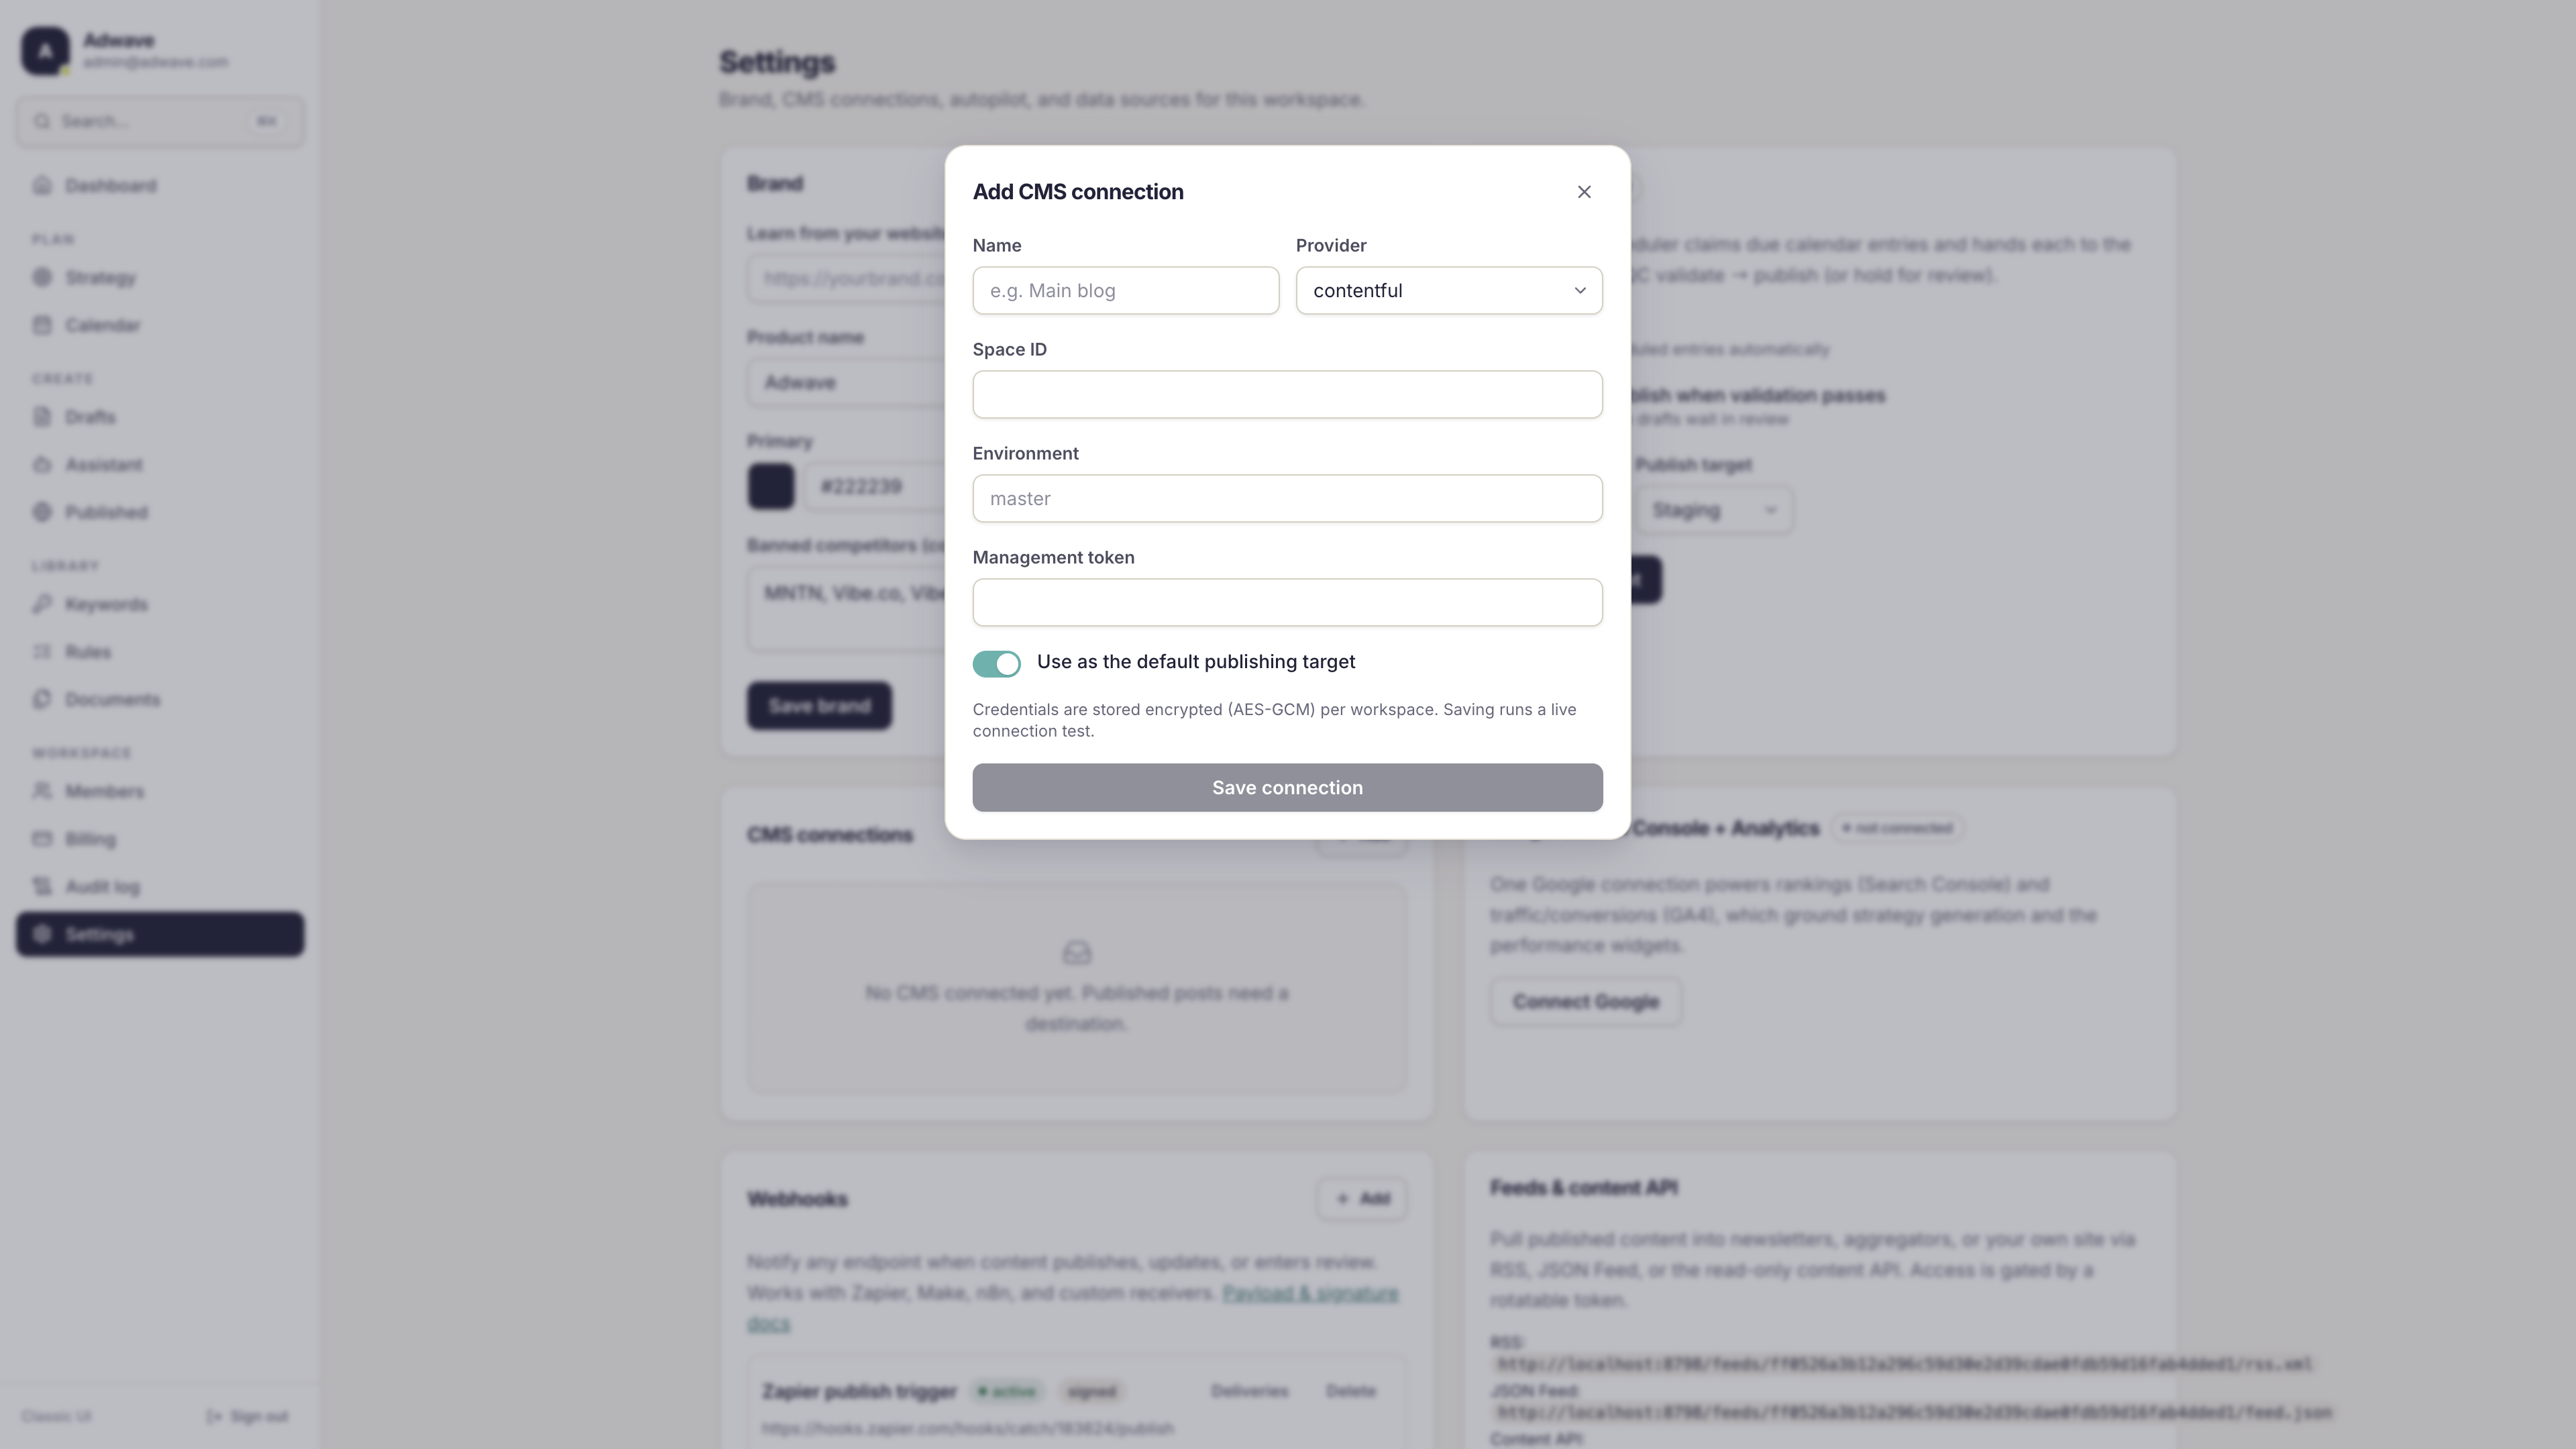
Credentials are stored encrypted (AES-GCM) per workspace and are never displayed again after saving. To rotate a credential, save the connection again with the same name and the new value - it updates in place and keeps its default flag and publish history.
Contentful
| Field | Where to find it |
|---|---|
| Space ID | Contentful → Settings → General settings |
| Environment | Usually master (the default) |
| Management token | Contentful → Settings → API keys → Content management tokens |
Notes:
- Wavefront publishes rich text natively to Contentful, including embedded tables and statistics entries, image assets, and author links - the fullest-fidelity integration.
- Staging publishes go to a separate Contentful environment (default:
staging). Production publishes go to your main environment. - The live test verifies the token has content-management scope on the exact space and environment you entered.
WordPress
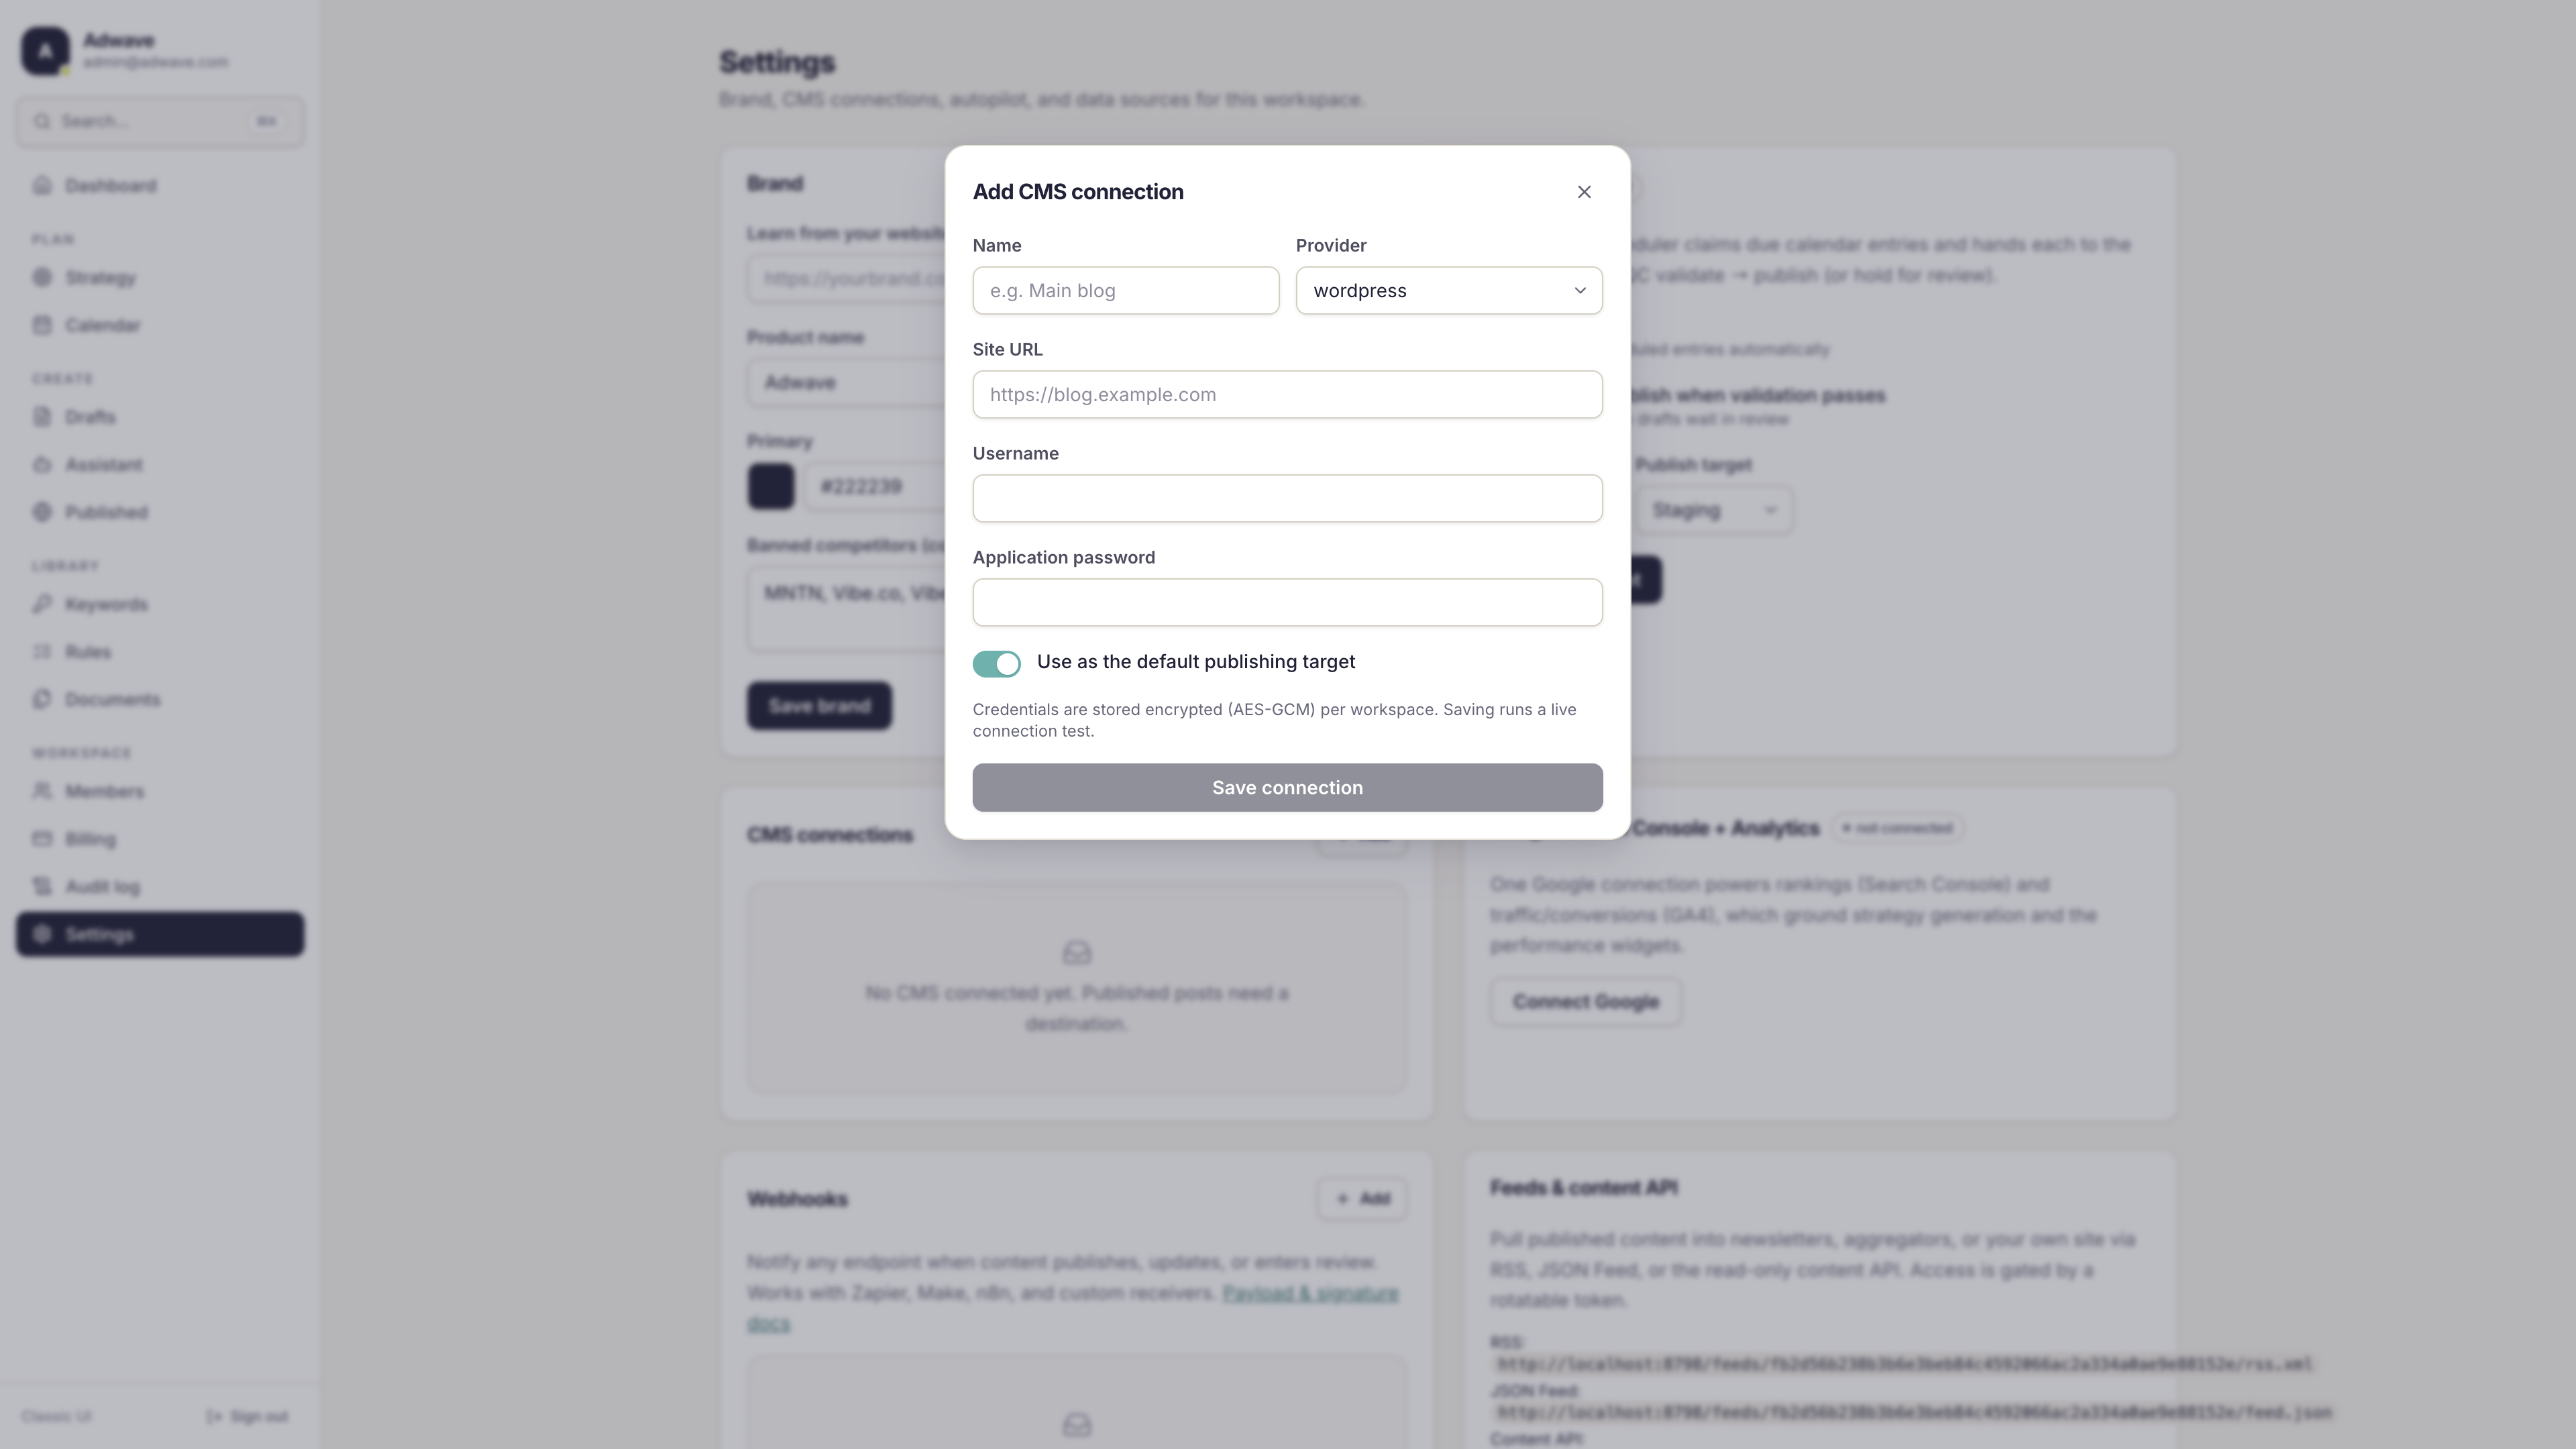
| Field | Where to find it |
|---|---|
| Site URL | Your site's root URL, e.g. https://blog.example.com |
| Username | The WP user to publish as |
| Application password | WP Admin → Users → Profile → Application Passwords (WordPress 5.6+) |
Notes:
- Use an application password, not the account login password. Create one named "Wavefront" so you can revoke it independently.
- The site must be reachable over public HTTPS with the REST API enabled (it is by default; some security plugins disable it).
- Images upload to your WordPress media library: the hero becomes the post's featured image, body images are re-hosted on your site (no hotlinking), and alt text carries over.
- Staging publishes create/update the post as a draft; production publishes set it live.
- The title, slug, content, and excerpt are managed by Wavefront on each publish; fields you edit in WordPress that we don't manage are left alone.
Webflow
| Field | Where to find it |
|---|---|
| API token | Webflow → Site settings → Apps & integrations → API access (needs CMS scope) |
| Collection ID | Webflow → CMS → your collection → Settings (Collection ID) |
| Site ID | Webflow → Site settings → General (optional) |
Notes:
- By default we write to the standard blog fields:
name,slug,post-body,post-summary, andmain-image. If your collection uses different field slugs, contact support to set a custom field mapping on the connection. - The hero image is passed as a URL that Webflow fetches and re-hosts on save.
- Staging publishes create the item as a draft; production publishes create or update the live item.
Ghost
| Field | Where to find it |
|---|---|
| Admin API URL | Your Ghost URL, e.g. https://yoursite.ghost.io |
| Admin API key | Ghost Admin → Settings → Integrations → Add custom integration → Admin API key (id:secret format) |
Notes:
- Create a dedicated custom integration named "Wavefront"; the Admin API key it generates is all we need (we mint short-lived tokens from it on every request - the key itself never travels).
- The hero uploads to Ghost and is set as the post's feature image.
- Staging publishes are Ghost drafts; production publishes are live posts. The SEO description maps to Ghost's meta description.
Shopify (blog)
| Field | Where to find it |
|---|---|
| Shop domain | e.g. my-store.myshopify.com |
| Admin API access token | Shopify Admin → Settings → Apps and sales channels → Develop apps → your app → API credentials. The app needs the write_content scope. |
| Blog handle | The blog's handle, e.g. news (visible in the blog's URL) |
Notes:
- Articles are upserted by handle (slug) on the blog you name. The live test confirms both the token and that the blog handle exists.
- Staging publishes create the article unpublished; production publishes set it visible.
- The hero image is passed by URL; Shopify fetches and re-hosts it.
HubSpot (blog)
| Field | Where to find it |
|---|---|
| Private app token | HubSpot → Settings → Integrations → Private apps (needs CMS blog scopes) |
| Blog ID | The content group ID of the target blog (Settings → Website → Blog, or the ID in the blog dashboard URL) |
Notes:
- Staging publishes save the post as a draft; production publishes push it live immediately.
- The SEO description maps to HubSpot's meta description; the hero URL becomes the featured image.
Sanity
| Field | Where to find it |
|---|---|
| Project ID | sanity.io → your project → Settings |
| Dataset | Usually production |
| API token | Project → API → Tokens (needs write access) |
| Document type | The schema type to create, e.g. post |
Notes:
- The body is stored as markdown text in the document's
bodyfield (pair it with a markdown input plugin in your Studio). Default field names aretitle,slug,body,excerpt, andseoDescription; custom mappings are available via support. - Staging publishes write a
drafts.document (visible in the Studio as a draft); production publishes write the published document and clear any pending draft. - Documents get a deterministic ID derived from the slug, so republishing the same article always updates the same document.
Strapi
| Field | Where to find it |
|---|---|
| Strapi URL | Your Strapi instance, e.g. https://cms.example.com |
| API token | Strapi Admin → Settings → API Tokens (full access to the content type) |
| Content type | The plural API ID, e.g. articles |
Notes:
- Your content type should have
title,slug,body, anddescriptionfields (custom mappings available via support) and draft & publish enabled. - Works with both Strapi v4 and v5.
- Staging publishes save the entry as a draft (
publishedAtempty); production publishes set it live.
Markdown + Git (GitHub)
For static sites (Astro, Hugo, Next.js, Eleventy, ...) that build from a content folder.
| Field | Notes |
|---|---|
| GitHub repo | owner/repo |
| Branch | Default main |
| Directory | Where content lives, e.g. content/posts |
| GitHub token | A fine-grained token with Contents: read & write on the repo |
Notes:
- Each publish commits
directory/slug.mdwith YAML frontmatter (title, slug, date, description, type, author) followed by the article markdown. Your site's build pipeline takes it from there. - Production publishes commit to your branch; staging publishes commit to
<branch>-staging(create that branch once if you want staging). - The live test verifies the token can actually push to the repo, not just read it.
Custom webhook
If your platform isn't listed, the webhook connection POSTs the full article (markdown, rendered HTML, image URLs, SEO fields) to any HTTPS endpoint you control, signed with HMAC so you can verify it came from us. See Webhooks & feeds for the payload and verification code.
Managing connections
- Test - runs the same live auth probe as saving, and shows the provider's actual error message inline if something's wrong.
- Delete - removes the connection. Published entries keep a record of where they went, but can no longer be re-published or unpublished through the deleted connection.
- Default - exactly one connection is the workspace default at a time; marking a new one default un-marks the previous.
- Per-strategy routing - open a strategy and set its CMS target to publish that strategy's content somewhere other than the default.